
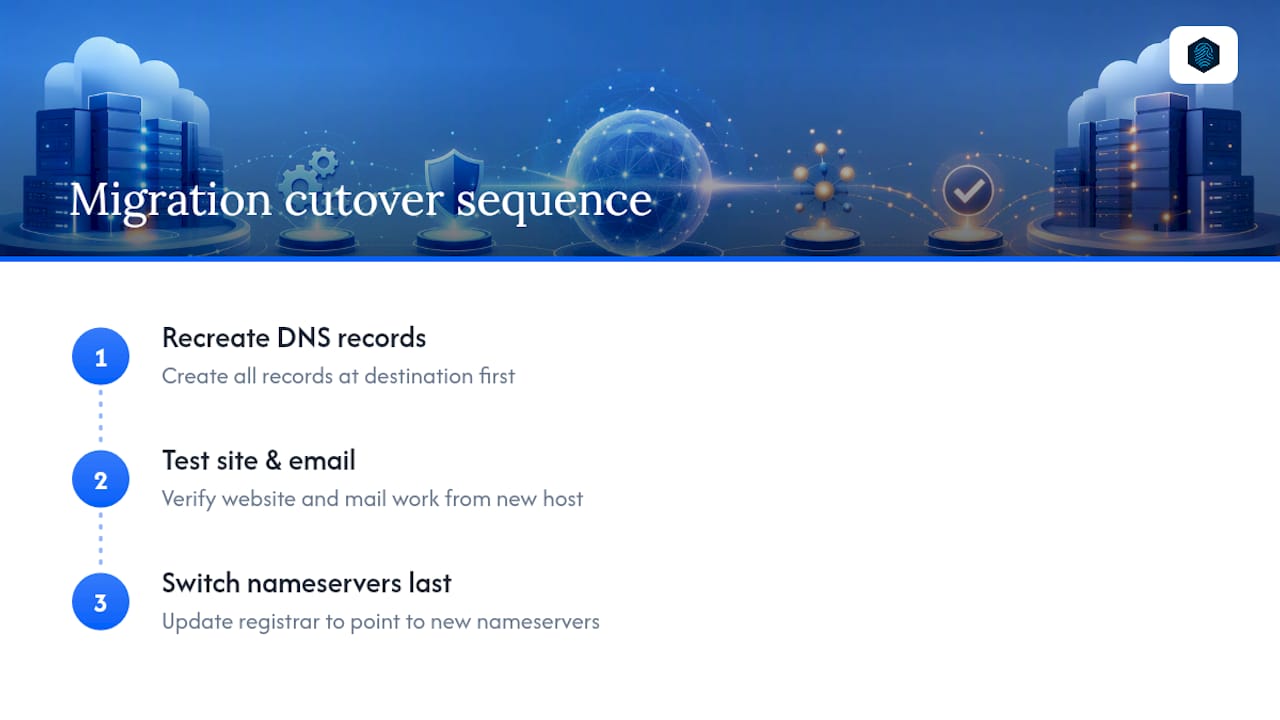
Change nameservers at your domain registrar: copy the new nameserver values from your destination host, recreate every DNS record there first, then update the registrar's nameserver fields and confirm delegation with WHOIS. Do it in that order. Switching nameservers before your records exist elsewhere is the single most common cause of sudden email and website outages.
TL;DR:
- Moving DNS management to a new provider requires recreating all DNS records, including MX and TXT, at the destination before updating nameservers at the registrar.
- Confirm and lower TTL values 24 to 48 hours before switching to reduce caching delays and enable faster propagation.
- Disabling DNSSEC and ensuring proper glue records are essential, as misconfigurations can silently break domain resolution or email delivery.
- Verify nameserver changes independently with WHOIS and direct DNS queries to confirm proper delegation before considering the switch complete.
- Only change nameservers during low-traffic periods and after thorough record recreation to prevent email and website outages during propagation.
Table of Contents
- How Do I Change Nameservers for My Domain Safely?
- Where Do I Find My New Nameserver Values?
- Steps to Update Nameservers at Your Registrar
- DNSSEC and Glue Records: The Two Things That Break Silently
- How to Verify Nameserver Changes Worked
- How Long Does Nameserver Propagation Take?
- Your Pre-Switch Checklist
- Practical Migration Notes from inSave Hosting
- When Should You Change Nameservers Instead of Just Editing Records?
- inSave Hosting: Domain and Migration Support Done For You
- Sources
- FAQ
How Do I Change Nameservers for My Domain Safely?
Rushing this step is what turns a routine domain nameservers update into a support ticket. Before you touch your registrar, gather everything you need so the switch takes minutes instead of a stressful afternoon.
Export or screenshot every existing record: A, AAAA, CNAME, MX, TXT, and SRV, plus anything custom like DKIM or verification entries. You'll need two sets of credentials, your registrar login and access to the destination provider's dashboard, since the new nameserver strings live there. Note your current TTL (time to live) values too. If they're set high, at 24 hours or more, lower them a day or two ahead of the change so old records expire from resolver caches faster once you flip the switch.
- Export or screenshot all DNS records (A, AAAA, CNAME, MX, TXT, SRV, custom)
- Confirm registrar login and destination provider dashboard access
- Copy the exact new nameserver values
- Check current TTL settings and lower them if they're high
- Note whether DNSSEC is currently enabled
- Pick a low-traffic window for the actual cutover
Pro Tip: Schedule the switch for a low-traffic time when support is available to address any issues promptly.
Where Do I Find My New Nameserver Values?
Every hosting or DNS provider displays its nameserver addresses somewhere in the account dashboard, usually under a section labeled "DNS," "Nameservers," or "Domain Settings." They typically follow a pattern like ns1.provider.com and ns2.provider.com, and most providers issue two to four of these addresses for redundancy.
- Standard delegation: copy the exact strings the provider lists, character for character
- Vanity or white-label nameservers (your own branded ones, like
ns1.yourdomain.com): these require extra registrar-side steps, covered below - Some hosts require you to activate DNS hosting on their end before nameservers become active, so confirm that step first
Steps to Update Nameservers at Your Registrar
The interface differs slightly by registrar, whether you're working in GoDaddy, Namecheap, or another provider, but the sequence of steps to change domain nameservers is nearly identical everywhere:
- Log in to your registrar account and open domain management for the domain in question.
- Find the DNS or nameservers section, sometimes labeled "Name Server Settings" or "DNS Management."
- Switch the setting from default or "parked" nameservers to "custom nameservers."
- Remove the old nameserver entries one at a time.
- Paste in the new nameserver values exactly as your destination provider listed them, no typos, no trailing spaces.
- Save or confirm the change, and take a screenshot or note any confirmation ID the registrar provides.
- If you're using vanity nameservers, the registrar will likely prompt you for glue records, the IP addresses tied to those custom nameserver names. Add them when asked.
Most registrars process this instantly on their end, but the change still has to propagate through the domain registry and global resolvers before it's fully live, which is a separate clock entirely.
DNSSEC and Glue Records: The Two Things That Break Silently
These two items cause more failed nameserver changes than anything else, and neither throws an obvious error until your site or email stops working.
- DNSSEC: if enabled, disable it at the registrar before switching. Cloudflare's own setup guidance notes that DNSSEC records tied to your old provider won't validate once a new authoritative provider is in place, so leaving it on can cause your entire domain to fail resolution. Re-enable it only after the new provider has generated its own DNSSEC keys.
- Glue records: required whenever your nameservers are subdomains of the domain they serve (
ns1.yourdomain.compointing toyourdomain.com). Registrars need the IP address attached to that nameserver name to avoid a circular lookup. - If you're planning private or white-label nameservers, check your TLD registry's specific rules first. Some registries reject glue-less vanity nameservers outright.
How to Verify Nameserver Changes Worked
Don't just trust the registrar's confirmation screen. Verify independently using two tools.
First, check ICANN's WHOIS lookup to confirm the registry shows your new nameservers as authoritative. Second, run a dig NS yourdomain.com or nslookup -type=ns yourdomain.com from a terminal to query the domain directly and compare the answer against what your registrar shows.
- Missing MX or TXT records after the switch: usually means you forgot to recreate them at the new provider before switching
- DNSSEC mismatch errors: mean you switched providers without disabling or re-keying DNSSEC
- Old records still resolving: almost always TTL caching, not a failed change; give it time before assuming something's broken
One structural fact worth remembering here: AWS's Route 53 documentation warns that incorrect nameserver or glue record entries can make a domain completely unreachable until the registry processes a correction, so double check every value before you save.
How Long Does Nameserver Propagation Take?
Most domain nameserver changes fully propagate within 1 to 48 hours, though propagation time may vary depending on registry processing and caching. Cloudflare's own zone setup documentation points to this same window as the realistic expectation, not the "instant" language some registrars use in their marketing.
- Email is the biggest risk during this window. If your MX and TXT records aren't already live at the new provider before you switch, mail delivery stops, sometimes silently, with senders getting bounce notices you never see.
- Recreate MX and TXT records first, always, before touching the registrar's nameserver fields.
- If your actual goal is just moving a website to a new server IP, and DNS management itself isn't changing, updating the A record is faster and lower risk than a full nameservers vs A record swap.
Your Pre-Switch Checklist
Run through this in order, and don't skip a step because it feels redundant.
- Export every existing DNS record from your current provider.
- Lower TTL values 24 to 48 hours ahead of the change.
- Recreate all records, MX and TXT especially, at the destination provider.
- Disable DNSSEC at the registrar.
- Schedule the switch for a low-traffic window.
- Update the nameserver fields at the registrar.
- Verify delegation with WHOIS and a dig query.
- Monitor site and email for 24 to 48 hours.
- Re-enable DNSSEC once the new provider confirms its keys are active.
Pro Tip: Keep your old DNS zone active and untouched for at least a week after the switch. If something's missing, you can pull the record from the old provider instead of guessing what it was.
Practical Migration Notes from inSave Hosting
The single biggest mistake domain owners make is treating the nameserver switch as step one instead of the last step. Records should already exist at the destination before the registrar ever sees a new nameserver value. That sequencing alone prevents most of the email and downtime complaints hosting support teams field every week.
If you're moving a full site rather than just DNS, a migration checklist that sequences record recreation, testing, and cutover saves far more time than improvising. For background on how registrar DNS differs from third-party DNS hosting, see this breakdown of DNS management.
When Should You Change Nameservers Instead of Just Editing Records?
Change nameservers when you're moving full DNS management to a new provider, for CDN, WAF, or advanced routing features. Just update individual records, an A record for a new server IP, an MX record for new email, when you're only repointing one service. Full delegation gives you more control and often better performance features, but it's more moving parts. For a simple small site with no CDN needs, editing records directly is usually the lower risk path.
— Ihor
inSave Hosting: Domain and Migration Support Done For You
If reading through nine steps, glue records, and DNSSEC caveats made you want someone else to just handle it, that's a reasonable reaction. Some hosting providers offer migration support alongside managed DNS, so your records get recreated correctly at the destination before anything at the registrar changes, removing the exact failure point this guide spends most of its time warning about.

If your current registrar doesn't expose nameserver controls cleanly, or you're tired of juggling two dashboards, transferring your domain consolidates registration and DNS management under one login. Check your domain's transfer eligibility and get migration help started from the inSave Hosting homepage today.
Sources
- Update nameservers · Cloudflare DNS docs
- Adding or changing name servers and glue records for a domain
- ICANN WHOIS/lookup
FAQ
How Do I Change the Nameservers for My Domain?
Log in to your registrar, find domain or DNS management, switch to custom nameservers, remove the old entries, and paste in the new values from your destination provider, then save and verify.
What Happens if I Change My Nameservers?
You hand full DNS control to the new provider's zone, which means every record, A, MX, TXT, and the rest, must already exist there or those services will stop working during propagation.
How Do I Change My Domain Nameservers on GoDaddy?
Open the domain's DNS settings in your GoDaddy account, select "Change" under Nameservers, choose "Custom," and enter the new nameserver values before saving.
Will Changing Nameservers Affect My Email?
Yes, if your MX and TXT records aren't recreated at the new provider before the switch, mail delivery stops until you add them, so always rebuild email records first.
How Long Does It Take for New Nameservers to Take Effect?
Most changes propagate within 1 to 48 hours, though registry processing and cached TTL values can occasionally extend that period.