TL;DR:
- Proper preparation ensures smooth WordPress installation and enhances site security.
- Post-install steps like updating permalinks and enabling SSL prevent vulnerabilities.
- Regular maintenance habits are crucial for long-term website success and security.
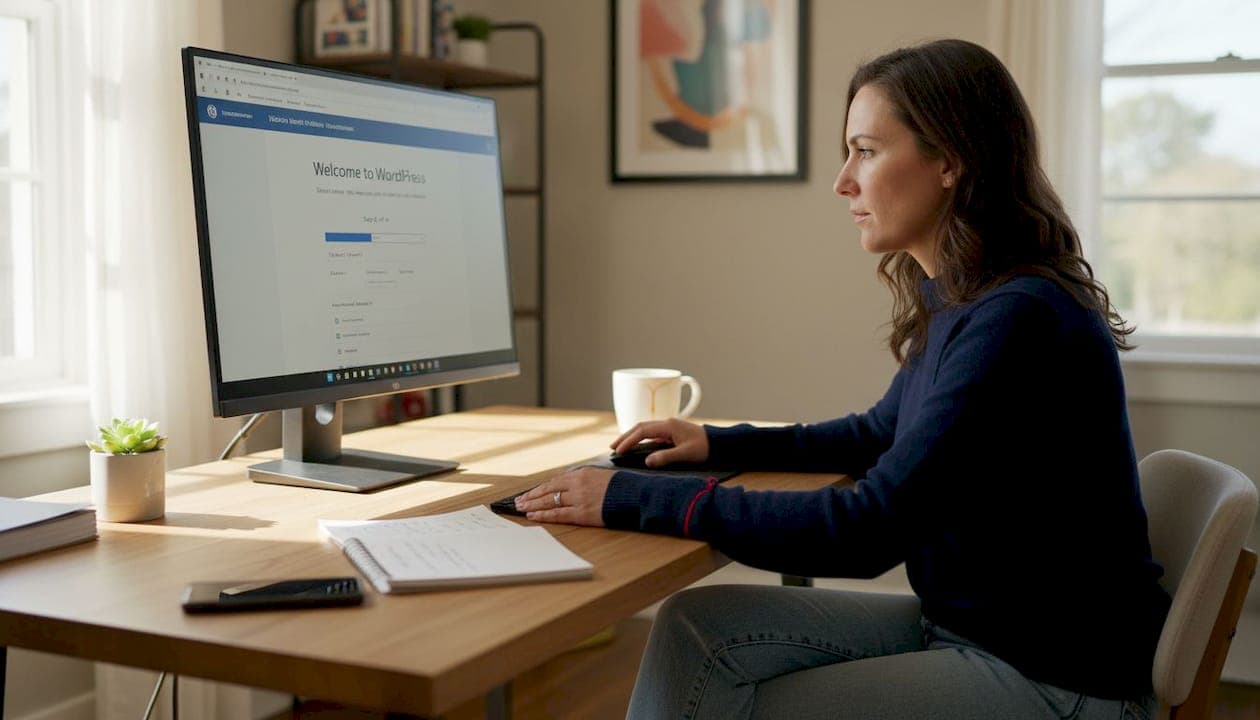
Starting a business website should feel exciting, not overwhelming. Yet countless small business owners spend days wrestling with confusing control panels, mismatched settings, and vague error messages before their site ever goes live. The good news is that installing WordPress is far simpler than most guides make it look, especially when you know exactly what to prepare, what to click, and what to do after the install. This article walks you through every stage, from checking your server requirements to locking down your site post-launch, so you can stop guessing and start building a website that actually works for your business.
Table of Contents
- Check requirements and prepare for WordPress
- Step-by-step: How to install WordPress (manual and one-click)
- Essential post-install steps for security and success
- Troubleshooting common installation issues
- The overlooked reality: Installation is just the first step
- Ready to launch? Power your WordPress website with confidence
- Frequently asked questions
Key Takeaways
| Point | Details |
|---|---|
| Verify requirements first | Check that your hosting plan meets the latest WordPress and security standards before beginning. |
| Choose the best installation method | Decide between a one-click install for speed or manual setup for more control over your site. |
| Secure and configure immediately | Update settings, delete defaults, and enable SSL right after installing WordPress to protect your site. |
| Troubleshoot with confidence | Most installation problems can be fixed easily by reviewing server settings, permissions, and activating debug mode. |
Check requirements and prepare for WordPress
Before you install anything, you need to confirm your hosting environment is ready. Skipping this step is the number one reason installations fail or behave unexpectedly after launch. Think of it like checking that your kitchen has the right appliances before you start cooking a new recipe.
WordPress has clear minimum technical requirements. According to the official WordPress download page, WordPress requires PHP 7.4 or greater (with 8.0+ recommended), MySQL 8.0+ or MariaDB 10.6+, HTTPS support, and either Apache or Nginx as your web server. Most modern hosts meet these standards, but it is always worth double-checking before you begin.
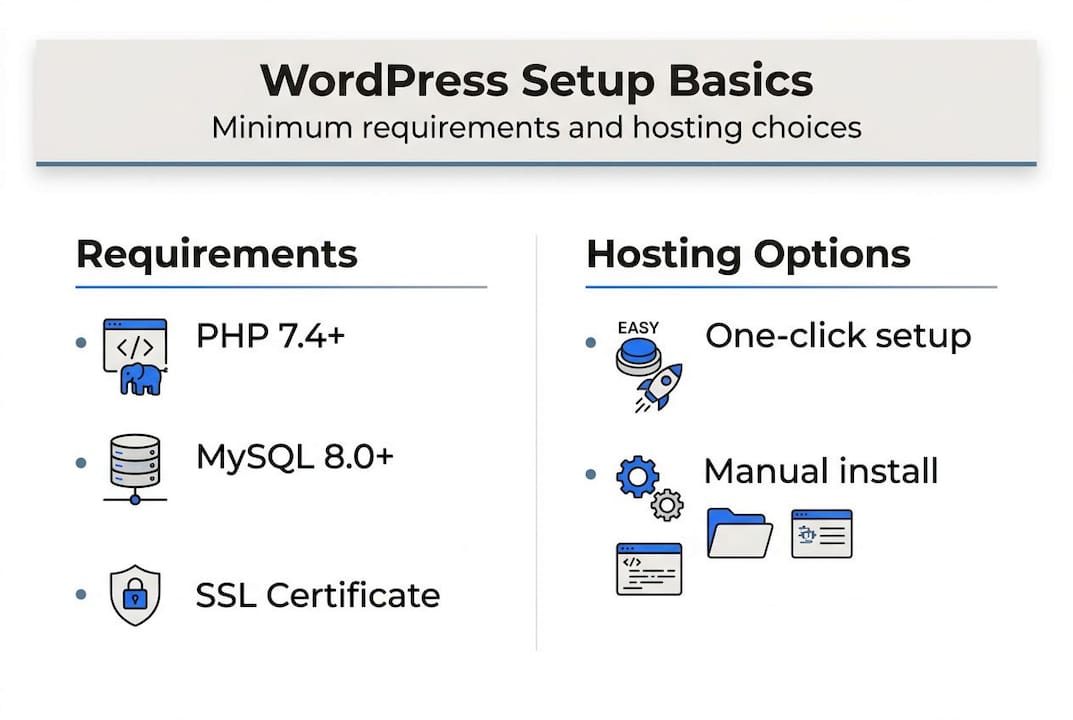
Here is a quick reference table for what you need:
| Requirement | Minimum | Recommended |
|---|---|---|
| PHP version | 7.4 | 8.0 or higher |
| Database | MySQL 8.0 | MariaDB 10.6+ |
| Web server | Apache or Nginx | Either with HTTPS |
| SSL certificate | Required | Free via Let's Encrypt |
| Disk space | 1 GB | 5 GB+ for growth |
Beyond the technical specs, you will also need these items ready before you start:
- A registered domain name pointed to your hosting account
- Active hosting account login credentials
- Access to your hosting control panel (cPanel or similar)
- An FTP or SFTP client (FileZilla is free and reliable) for manual installs
- A text editor for editing configuration files if needed
Your SSL certificate is especially important. Without it, browsers will flag your site as "not secure," which immediately damages visitor trust and hurts your search rankings. Many hosts include a free SSL, but confirm it is active before proceeding. You can review the essential hosting features that every business site needs to make sure your plan covers all the basics.
Pro Tip: Choose a host that offers one-click WordPress installation. It eliminates the database setup steps, reduces the chance of errors, and gets you from zero to a working site in under five minutes.
Step-by-step: How to install WordPress (manual and one-click)
With requirements and recommendations in place, it is time to actually install WordPress. You have two main paths: one-click installation through your hosting panel, or a manual installation via file upload. Both work well, but they suit different situations.
One-click vs. manual: A quick comparison
| Method | Best for | Time needed | Technical skill |
|---|---|---|---|
| One-click install | Most business owners | Under 5 minutes | Beginner |
| Manual install | Custom setups, staging | 20 to 40 minutes | Intermediate |
One-click installation (recommended)
- Log in to your hosting control panel.
- Find the WordPress installer (often labeled Softaculous, Installatron, or simply "WordPress").
- Click "Install Now" and fill in your site name, admin username, and a strong password.
- Set the installation directory (leave blank to install at your root domain).
- Click "Install" and wait for the confirmation screen.
- Visit your domain and log in at yourdomain.com/wp-admin.
Manual installation
- Download the latest WordPress package from wordpress.org/download.
- Create a new MySQL database and user in your hosting panel, then assign full permissions.
- Upload the unzipped WordPress files to your server's public_html folder using SFTP.
- Open your browser and navigate to your domain to launch the setup wizard.
- Enter your database name, username, password, and host (usually "localhost").
- WordPress will generate a wp-config.php file. Save it to your server if prompted.
- Complete the five-minute install form with your site title and admin details.
A few key files and folders you should know about once WordPress is installed:
- wp-config.php: Stores your database connection details. Keep it secure.
- wp-content: Contains your themes, plugins, and uploaded media.
- wp-admin: Your dashboard login folder. Never share this URL carelessly.
- .htaccess: Controls URL structure and server-level rules.
To choose the best web hosting for your specific needs, consider whether you expect high traffic, need staging environments, or want managed security included.
Pro Tip: Always use SFTP instead of plain FTP when uploading files. SFTP encrypts your login credentials and file transfers, while FTP sends everything in plain text that anyone on the same network could intercept.
Essential post-install steps for security and success
With WordPress now installed, do not overlook these crucial post-installation actions before launching your site. What you do in the first 30 minutes after install can determine how secure and well-optimized your site is for months to come.
Follow these steps in order:
- Change your admin username. The default "admin" username is the first thing attackers try. Create a new administrator account with a unique name, then delete the original "admin" account.
- Set a strong password. Use a password manager to generate something with at least 16 characters, mixing letters, numbers, and symbols.
- Configure your permalink structure. Go to Settings > Permalinks and select "Post name." This makes your URLs readable and SEO-friendly.
- Update your timezone and site title. Go to Settings > General to set these correctly from day one.
- Delete default content. Remove the sample post, sample page, and any pre-installed plugins or themes you will not use. Less clutter means fewer potential vulnerabilities.
- Enable SSL if not already active. Install a plugin like Really Simple SSL to force HTTPS across your entire site.
- Install a security plugin and a caching plugin. Wordfence or Solid Security for protection, and LiteSpeed Cache or W3 Total Cache for speed.
As post-install best practices confirm, setting permalinks to "Post name," deleting default content, updating your timezone, and installing security and caching plugins are non-negotiable first steps after any WordPress installation.
Remember: The first version of your site is the most vulnerable. Attackers scan for freshly installed WordPress sites with default settings. Locking things down immediately is not optional.
To properly secure your WordPress site from the start, combine plugin-level security with server-level protections. And make sure enabling SSL is one of the very first things you do, not an afterthought.
Pro Tip: Run WordPress core updates, theme updates, and plugin updates immediately after install. Outdated software is the leading cause of WordPress site hacks, and updating on day one removes that risk before you even publish your first page.
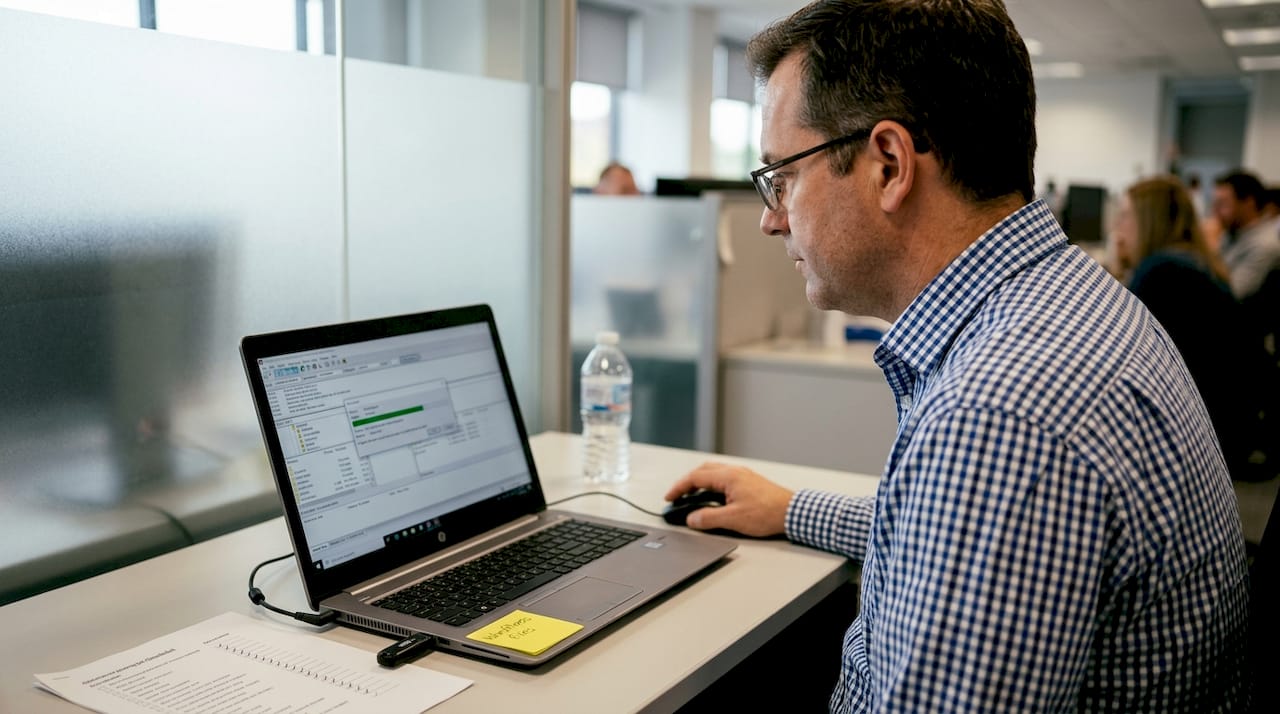
Troubleshooting common installation issues
Even with careful preparation, you might run into technical snags. The key is knowing where to look and what to try first, rather than spending hours guessing.
The most useful tool in your troubleshooting kit is WordPress debug mode. Open your wp-config.php file and find the line that reads "define('WP_DEBUG', false);. Change falsetotrue` to start logging errors. This surfaces the exact problem instead of showing you a blank white screen or a vague error message.
As the WordPress CLI Handbook recommends, enable WP_DEBUG, check your PHP version and memory limits, verify file permissions (755 for directories, 644 for files), and clear all caches when troubleshooting installation problems.
Here are the most common issues and how to fix them:
- Wrong PHP version: Log in to your hosting panel and switch to PHP 8.0 or higher. Most hosts let you change this in one click under PHP settings.
- Database connection error: Double-check your database name, username, password, and host in wp-config.php. Even a single typo breaks the connection.
- File permission errors: Use your SFTP client or hosting file manager to set directories to 755 and files to 644.
- White screen of death: Enable WP_DEBUG, then deactivate all plugins by renaming the plugins folder via SFTP. Reactivate one by one to find the culprit.
- Slow load times after install: Clear your server cache and browser cache. A slow initial load is often just a caching issue, not a deeper problem.
When to call your host: If you have checked PHP, permissions, and database settings and still cannot resolve the error, contact your hosting support team. Provide them with your error log output. A good host will diagnose server-level issues quickly.
Investing in website speed and reliability from the start means fewer troubleshooting headaches down the road, because a well-configured server environment prevents most of these issues before they appear.
The overlooked reality: Installation is just the first step
Stepping back, here is a perspective most guides never mention: the install takes five minutes, but what happens in the following months determines whether your website actually helps your business grow.
We see it constantly. A business owner gets WordPress running, picks a theme, adds a few pages, and then essentially abandons the backend. No updates. No security checks. No performance reviews. Six months later, the site is slow, outdated, and sometimes compromised.
The truth is that WordPress is not a "set it and forget it" platform. It rewards consistency. Sites that get regular updates, monthly security scans, and periodic performance reviews consistently outperform those that do not, in both search rankings and user experience.
The encouraging part is that none of this requires technical expertise. It requires habits. Schedule a 15-minute monthly maintenance check. Update plugins. Review your uptime reports. Check your SSL expiration date. These small actions compound into a website that builds trust and drives results over time.
For practical guidance on keeping things running smoothly, the WordPress hosting tips we have compiled cover the ongoing habits that separate thriving business sites from stagnant ones. The install is the starting line, not the finish line.
Ready to launch? Power your WordPress website with confidence
You now have everything you need to install WordPress and build a solid foundation for your business website. The next step is making sure your hosting environment keeps up with your ambitions.
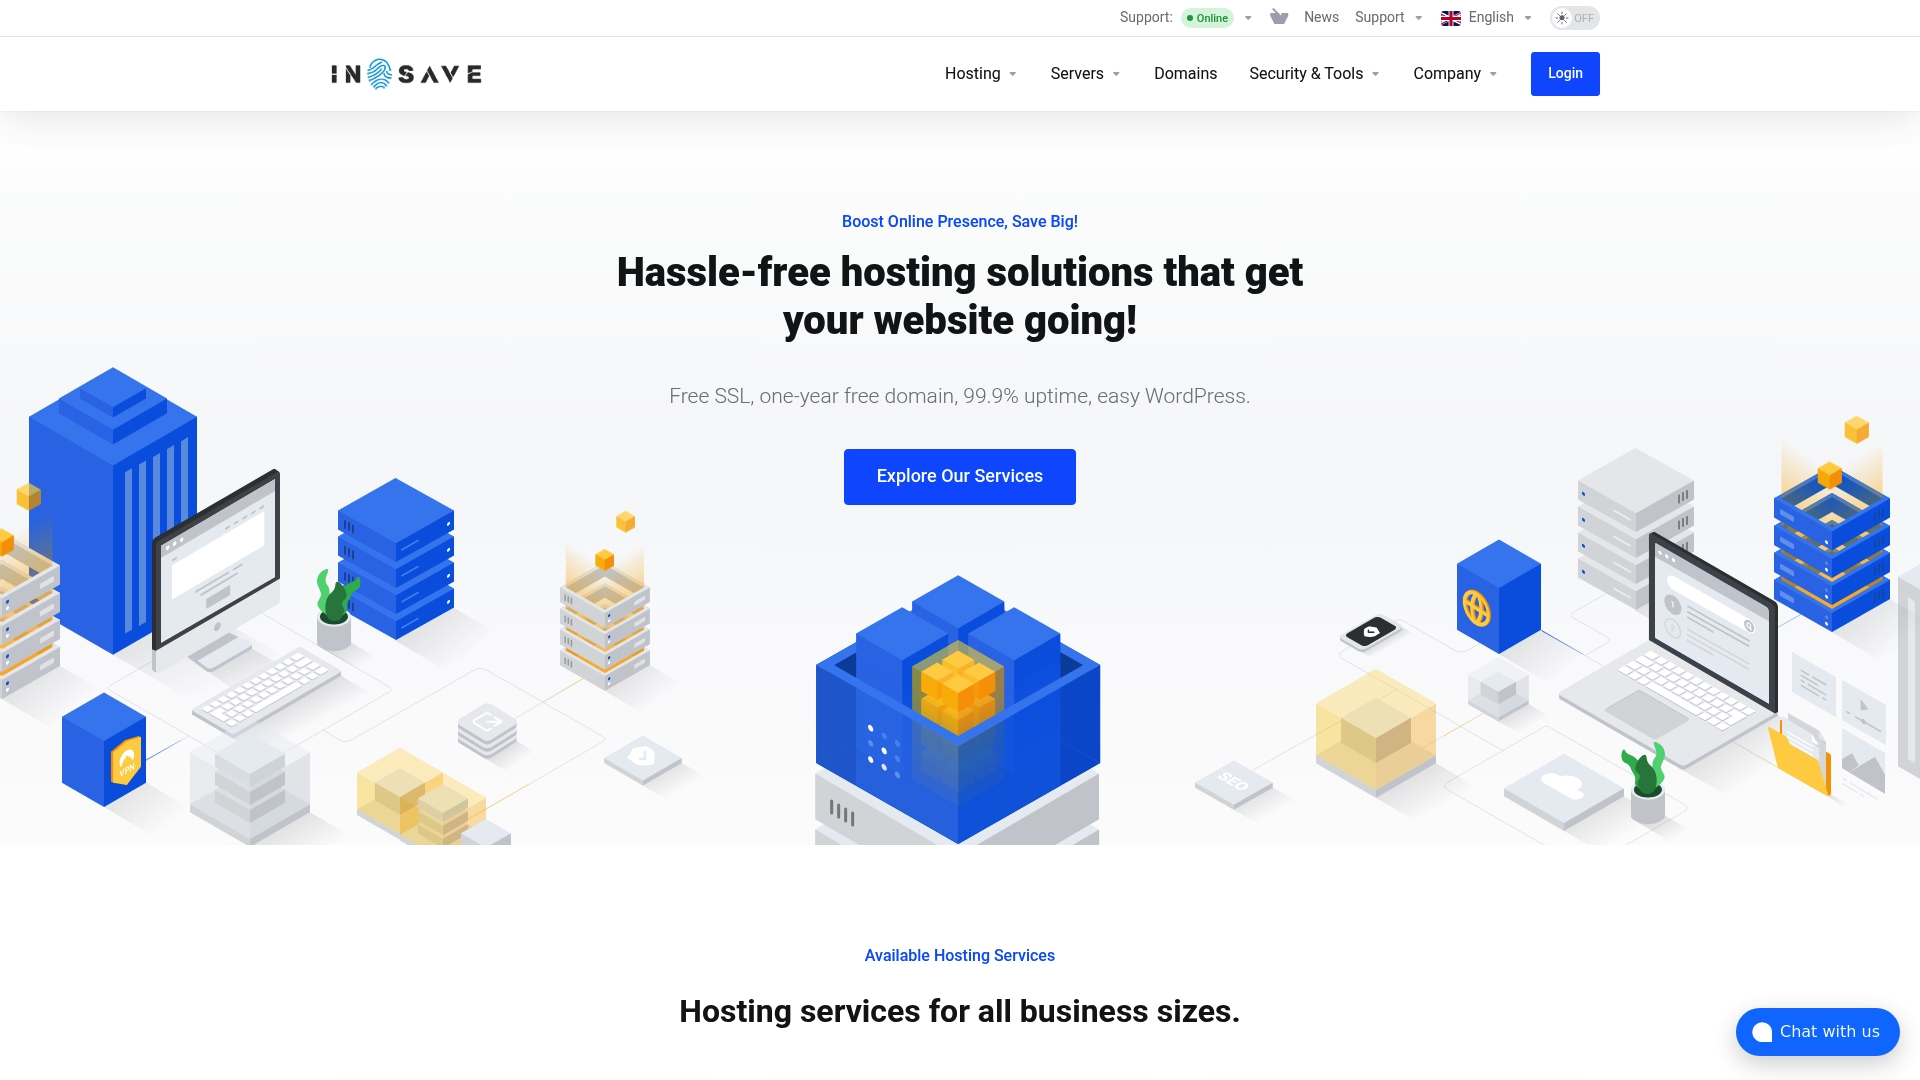
At InSave Hosting, our WordPress hosting plans are built specifically for business owners who want speed, reliability, and simplicity without the technical headaches. Every plan includes LiteSpeed servers, free CDN, and one-click WordPress installation so you can focus on growing your business instead of managing a server. You can also get SSL certificates to protect your visitors from day one, and find your domain name with free first-year registration included. Your website deserves a strong foundation. Let us help you build it.
Frequently asked questions
What are the minimum hosting requirements for WordPress in 2026?
You need PHP 7.4 or higher (8.0+ recommended), MySQL 8.0+ or MariaDB 10.6+, HTTPS support, and either Apache or Nginx as your web server. Most modern hosting plans meet these requirements by default.
How do I secure my site after installing WordPress?
Change your admin username and password immediately, delete default content, enable SSL, and install a security plugin like Wordfence. These steps dramatically reduce your exposure to common attacks.
Why does WordPress show an error after installation?
Most errors trace back to a PHP version mismatch, incorrect file permissions, or a typo in your database credentials. Enable WP_DEBUG in wp-config.php to see the exact error, then clear your browser cache before retesting.
Is one-click installation safe for business sites?
Yes, on reputable hosts it is completely safe and actually reduces human error compared to manual installs. Just make sure you update default credentials, enable SSL, and run all available updates immediately after the install completes.